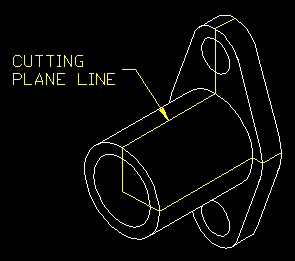
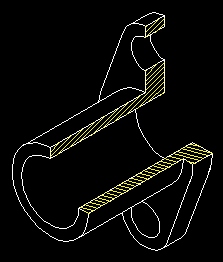
A half section is one in which the cutting plane cuts halfway through the product. It is usually used when the product is symmetrical (see below).
 |
 |
Comparing Traditional Orthographic Views to Half-Sectional Views
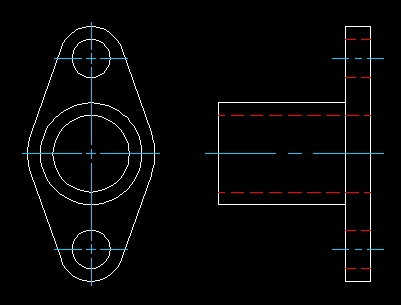
traditional orthographic view
In half-sections, one quarter of the view is considered removed with the interior detail exposed.
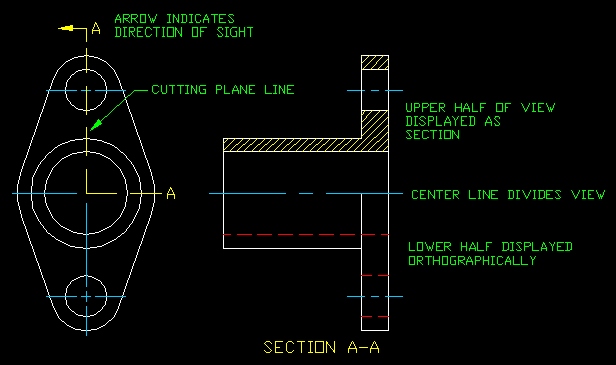
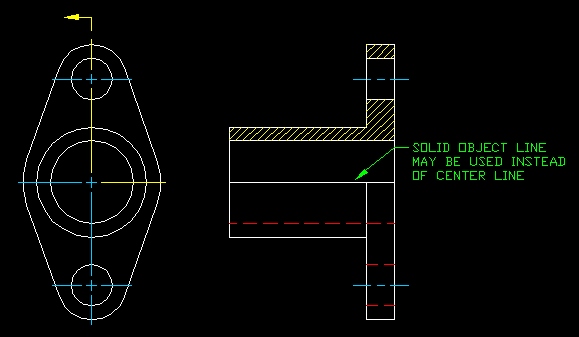
Similar to the practice followed for full-section drawings, the cutting plane line need not be drawn when it is obvious where the cutting took place. Instead center lines may be used (see sample drawing below).
In the sample below, I've used the existing center lines to indicate the cutting plane line. When you use this method, I suggest you color the center lines (indicating the cutting plane) to match the color used for the section layer (as done below).
You will notice that there are no section labels on the drawing. Again, it is not necessary to include these labels on a drawing containing only one sectional view. When there are two or more sections, use the same practice for labeling the cutting plane and section view (see drawing above).
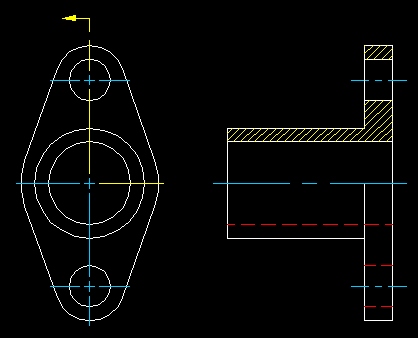
Just one more note regarding sections. It is also acceptable to use a solid object line instead of a center-line to divide the sectioned half from the un-sectioned half (see below).
