
MS Publisher is an industry-strength DTP (Desktop Publishing) application.
While both Word 97 and Publisher 98 can create (almost) identical documents, the underlying structure of each is markedly different. Trying to do desktop publishing with a word processor is somewhat like trying to use a monkey wrench for a hammer. It will likely work, but the process can be frustrating, cumbersome and yield less than perfect results.
Upon the completion of this unit you will have one more powerful software tool to use at your disposal.
Following this introduction, you will find a tutorial that describes many of the features available in Publisher. I strongly encourgage you to have Microsoft Publisher open in a another window as you proceed through this tutorial.
As you read each section, take the time to carefully practice the tools and techniques discussed.
Instead, we will be starting with a BLANK PAGE. (Click the "Blank Publication" tab to get there).
The Publisher ToolBox allows you to select different tools, and then to "draw" a frame on your page with it.
![]()
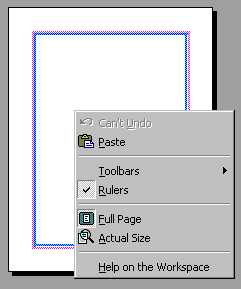
If you click with the RIGHT mouse button, you will get a popup menu. This menu is "context sensitive" meaning that it knows where you are, and what you are busy working on, and shows you commands which are relevant to the task at hand.
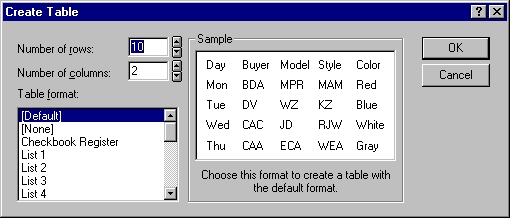
Click the table tool to select it, then click on your page (and drag) to insert a table. As you release the mouse button, the Table Dialogue Box appears, from which you can select various options. Every choice you make is immediately reflected in the "Sample" window.
Click the WordArt tool to select it, and then click (and drag) on your page to create a frame. When you release the mouse button, you are invited to enter the text you require.
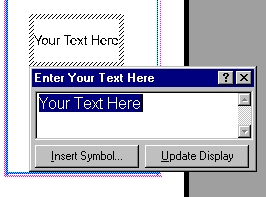
Publisher follows what you are doing, and tries to help by providing context-sensitive popup help. To change the characteristics of your WordArt, first select the WordArt (double click if not already selected), and then click on one of the many formatting options to change the appearance of your wordart. Take the time to explore the many options available here by playing with some sample wordart. To deselect the wordart, simply click on an empty area outside the frame.

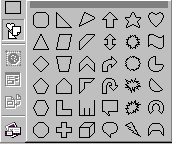
It is easy to insert ready-made shapes into your page. Select the Shapes Tool. As you do so, the toolbar expands to show you all the shapes from which you can choose.
Once you have made your selection, click and drag on your page to "draw" the shape.
One of the things you will want to do often is to add a text frame to your page. To do so, select the Text Tool from the Toolbox, and then "draw" the text area on your page.
Having done this, you can adjust the size and position of the frame whenever you please.
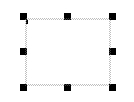
To resize the frame, move your pointer over one of the "grab handles". The cursor changes. When it does so, you can drag the handle, and resize the frame.
To reposition your text frame, move the pointer onto the frame's border, and the cursor changes to a Van with the word "Move" on its side. You can now move the entire frame.
![]()
Publisher allows you fine control over how your text appears. The Font Selection box shows you what each font will look like, to make it easy for you to select the right font.
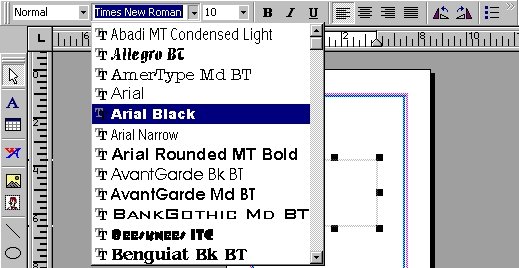
From the format menu, however, you can select any number of different formatting options, including borders, colours, shadows, indenting, fancy initial letters and so on.
Remember - each menu item which ends in an ellipses (three dots) leads on to a further dialogue box from which you can select more options.
Adding a border to a frame couldn't be simpler.
Just select the frame, and then select the Line/Border Style Tool. On this dialogue box you will see a few options.
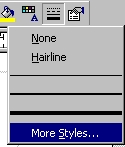
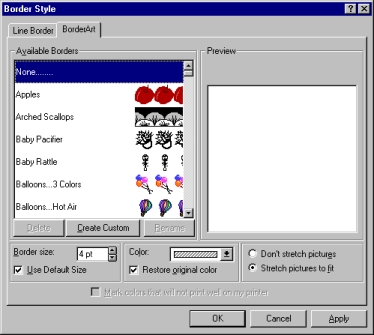
Select More Styles to see the full range of border styles.

If you wish to be really fancy, select the second tab (Border art) and choose from the many borders available.
As your publication grows, you will want to add pages and move from one page to another. To do so, look at the bottom of your screen till you find the following toolbar.
![]()
You can navigate back and forth through your publication by clicking the forward and backward arrows.
You can also zoom in on your page, so that it appears bigger. (It does not actually change size - it just appears bigger on your screen, so that you can more easily position frames and so on).
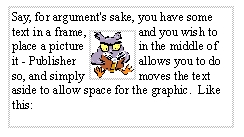
One of the really powerful features of MS Publisher is its ability to "wrap text" around another object.
Say, for argument's sake, you have some text in a frame, and you wish to place a picture in the middle of it - Publisher allows you to do so, and simply moves the text aside to allow space for the graphic. Like this:
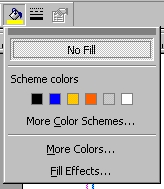
You can really liven up your publication by adding splashes of colour, or a fill effect. Have a look through the many options available.
MS Publisher ships with over five thousand clipart images and photographs. You can insert any of these into your publication.
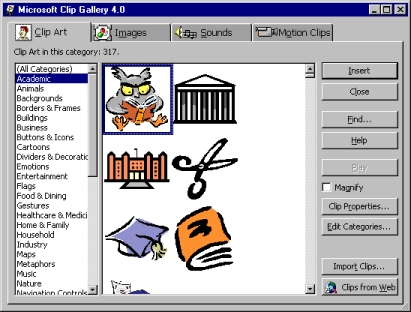
However, for an even more dramatic and creative look, why not "layer" two or more images?
If you place two images on top of each other, the second image will obscure the first. However, you can achieve really eye-catching results by deciding which of the images should be on top by using the layering tools indicated below.
![]()
One of the few features of DTP packages (of which MS Publisher is one) which have not been incorporated into word processors is the ability for text to flow from one text box to another.
In Publisher, you can nominate which text box should take the overflow when your first text box gets ‘full'. This is the method used by magazine and newspaper editors to flow text from one column to another on a different page.
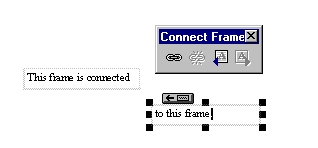
To access the frame connector select the parent frame and then select Tools - Text Frame Connecting...
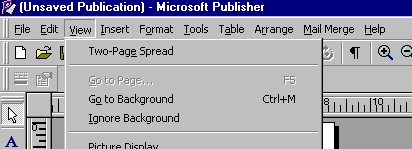
Every page of a publication has a background and a foreground. Most of the time you are working on the foreground of a page and anything you place there appears on that page only. The background lies under the foreground. You can see everything on the background while you're working on a page, but to add, delete or change any of the background elements, you must switch from the foreground to the background using the View - Go to Background tool. To return to the foreground you must select the View - Go to Foreground tool. You can also hide the background if you wish by selecting View - Ignore Background.
The background is where you place elements that you want repeated on every single page of your publication such as headers, footers, page numbers, watermarks (background graphics), etc.
Last Updated April 29/99